You have no items in your shopping cart.

Premium Quality Countertop Epoxy Kits

Self-Leveling
Use our self-leveling epoxy resin, engineered to maintain a thick uniform and highly durable surface.

Heat Resistant
Formulated with high end materials to withstand high temperatures (212°F / 100°C) and maintain its long-lasting shine.

Scratch Resistant
Engineered for durability this epoxy resin will resist high impacts and wont crack under pressure.

UV Stable
For all your epoxy creations, our enhanced resin stabilisers have long-lasting, non-yellowing benefits.
What's Included In The 2-gallon Countertop Epoxy Kit
 2 Gallons Countertop Epoxy Kit
Combination of 1-gallon resin and 1-gallon hardener measured and mixed at a 1:1 ratio to form 2 gallons of high-grade epoxy resin.
 1 x User Manual
The User Manual explains the epoxy resin kit's main characteristics and functions. Basic instructions are given to maximise the success rate of utilisation. There is little need for scientific jargon to aid comprehension.
Your Safety Is Our Top Priority

Non-Toxic
Designed to emit no fumes or VOCs, ensuring a healthy and enjoyable experience.
Food Safe
Use a food-grade epoxy resin that complies with FDA regulations (when used as intended).

Low Odor
Our epoxy resin kits are low odor, resulting a comfortable and user-friendly atmosphere.
Non-Flammable
Enjoy a risk-free and non-flammable formula perfect for the comfort of your home.
How It Works
Primo Resin's Premium Countertop Epoxy Resin Resin kits are easy and simple to use. Our chemists have carefully formulated our in-house blend so that you can achieve a perfect result every time. Simply follow these 4 steps and let your masterpiece come to life!

Step 1: Measure
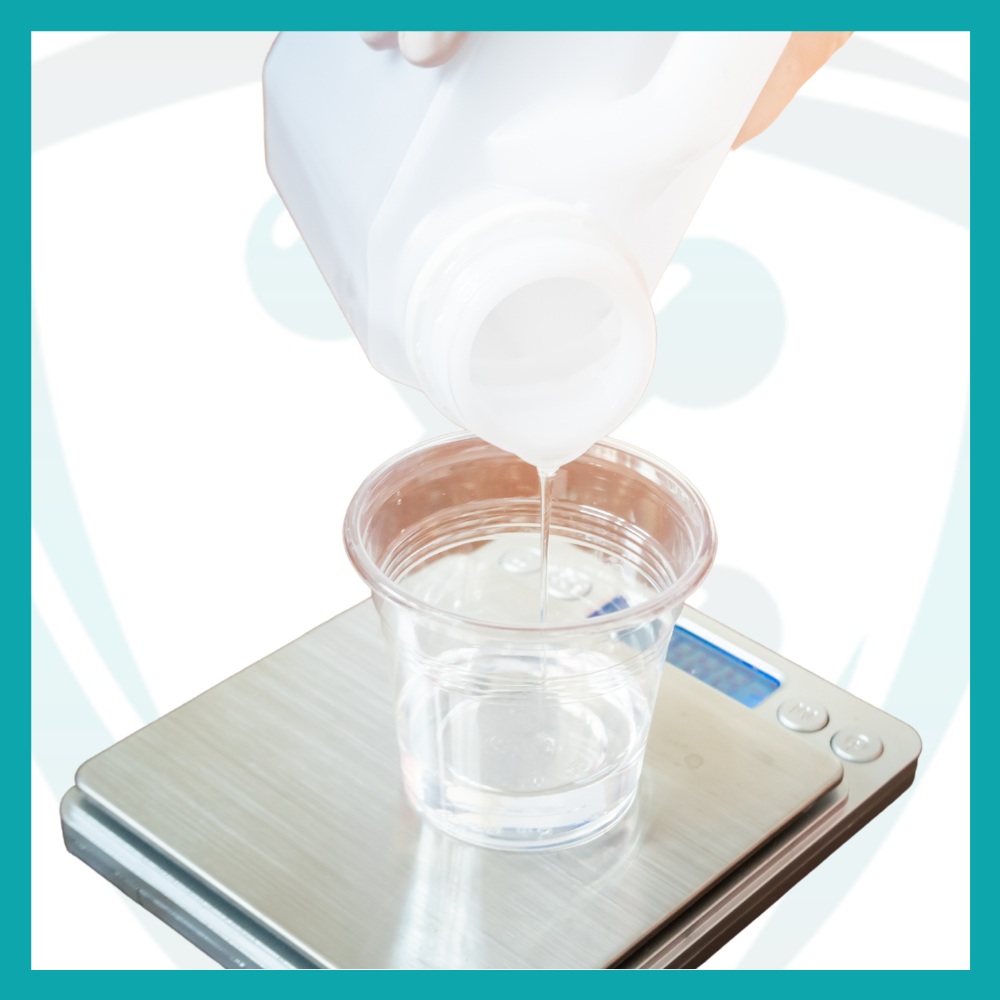
Pour while measuring inside a graduated cup the resin (Part A) and hardener (Part B) as per recommended quantities (Ratio 1:1). Make sure to wear personal protective equipment (glasses, gloves, face mask) to avoid any health-related risks.

Step 2: Mix
Stir the countertop epoxy mixture thoroughly for 3-4minutes. Scrape the sides and bottom of the container while stirring to avoid unmixed resin or hardener to stick. Unmixed material may result in soft spots after curing.

Step 3: Apply
Apply the epoxy resin mixture on the work surface. Make sure the project is leveled to maintain an even thickness. Pass a heat gun rapidly above the work surface to extract excess air bubbles. Make sure surface is free of oil, grease, or dust to avoid contamination.

Step 4: Let It Dry
Let the mixture dry as for approximately 24 hrs. Protect the work surface from dust, residue, or water by placing a protective film above it.
We Make Your Decision Easy

Fast & Free Shipping
Any order receives free and fast delivery. Resin kits ship out on the same day most of the time.

30-day return policy
Feel free to use your epoxy within 30 days. If not, you can exchange it for a complete refund.

Friendly Customer Service
Seven days a week, epoxy specialists are available to answer any questions you might have.
Epoxy Calculator
When it comes to getting the highest quality results, any artist understands the importance of using high-end materials.


